 my
myHow to Install a Radiator
Whether you need to replace a broken radiator, move your existing radiators, or just want to upgrade your old radiators, this guide will explain how to install a radiator yourself.
We'll include a list of all the tools and materials you need, as well as a step-by-step guide to help you install a radiator safely and correctly.
Let's get started!
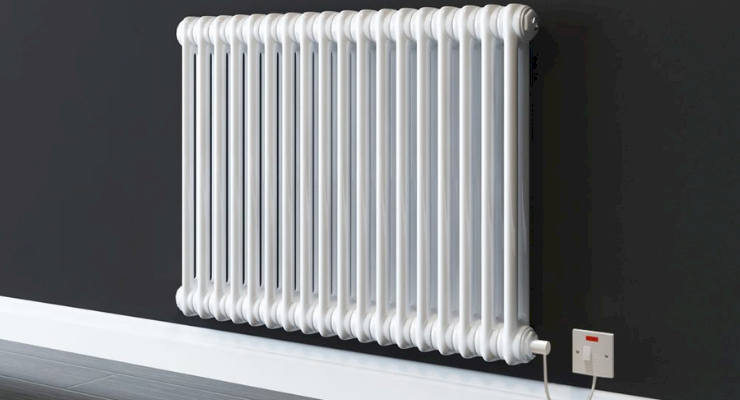
Table of Contents
What Tools Do I Need to Install a Radiator?
Below is a list of the tools you will need to install a radiator:
- Cordless drill
- Adjustable spanner
- Radiator valve tail key
- Dust sheet
- Cloths or rags
- Tape measure
- Pencil
- Spirit level
- Knee pads
What Safety Equipment Do I Need to Install a Radiator?
You usually won't need any specific safety equipment when installing a radiator.
However, when completing a radiator installation as a DIY job, you may need someone to help you lift the radiators as they can be heavy and hard to manoeuvre.
This way, you can safely lift the radiators on and off the wall without injuring yourself.
What Materials Do I Need to Install a Radiator?
The list below highlights all of the materials that you will need to install a radiator:
- The new radiator
- Radiator brackets and fixings
- PTFE tape
- Radiator valves
- Corrosion inhibitor
- Wall plugs and screws
- Sealant (optional)
When choosing a radiator, you need to consider how it will be heated, with the main options including:
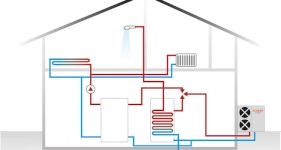
Central Heating Radiators
This type of radiator is commonly used in most households.
It consists of a metal panel which contains hot water, heated by the boiler. The heat is then distributed to the radiators throughout the home.
Electric Radiators
If your home doesn't have access to the mains gas supply, an electric radiator is typically the best option.
Electric radiators also have a container, although it is filled with fluid – generally thermo-fluid – and is heated by an electric element. An electric radiator is usually wired into the main supply or powered by the nearest socket.
Dual Fuel Radiators
Dual-fuel models are essentially central heating radiators with a summer heating element, which gives you the option of using electric if the central heating is turned off.
There are various radiator styles, such as:
Single Panel Radiators
Single-panel radiators are the most basic radiator style.
They are typically mounted to the wall, and are ideal for compact spaces, as they do not take up a lot of room.
Double Panel Radiators
Double-panel radiators are essentially two single panels.
They are also mounted to the wall, and face outwards towards the room. They tend to take up more space than single radiators due to their protruding from the wall in contrast to single panels, but they do offer double the power.
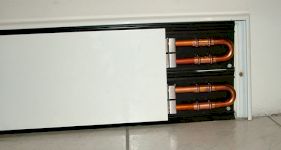
Horizontal Radiators
This type of radiator is wider than it is tall, and is normally installed under windows, as they were traditionally used to combat cold draughts.
These are commonly used as they tend to fit in a wide range of spaces.
Vertical Radiators
In comparison to horizontal models, vertical radiators are taller than they are wide.
These offer a modern design which works well with contemporary décor. They also tend to offer space-saving benefits.
Column Radiators
Column radiators feature a row of tubes which connect at the bottom and the top of the radiator to form a single design.
These tend to suit more traditional, classic décor, as they mimic Victorian-style models.
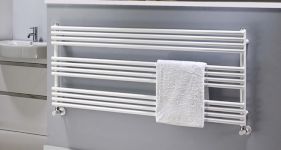
Heated Towel Radiators
Heated towel rails or ladder rails are typically installed in bathrooms to keep your towels warm after a shower or bath.
The design includes horizontal rails, which are perfect for hanging towels, and they can also heat up your bathroom, although this is only the second function.
How to Prepare for Installing a Radiator
To prepare for installing a new radiator, you must begin by removing the old radiator. The steps below explain how to remove a radiator:
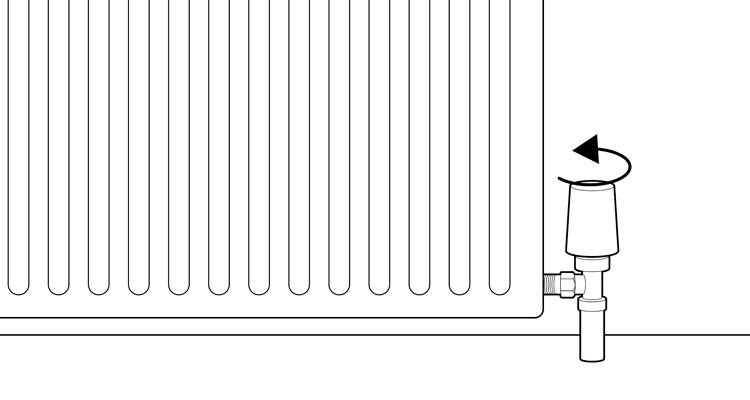
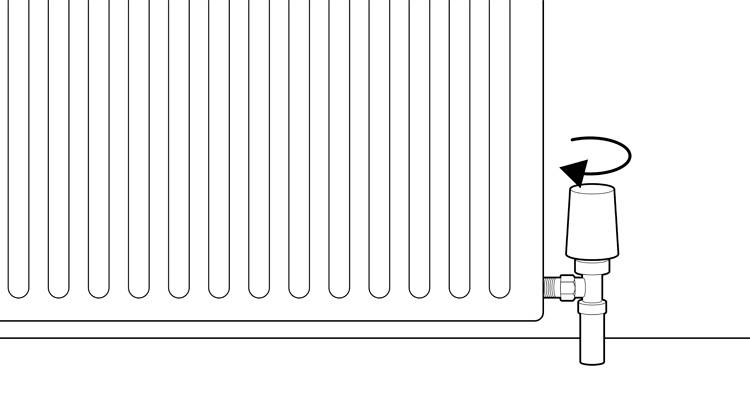
- Fully close the lockshield valve, keeping note of exactly how many turns it takes. Then, close the thermostatic or handwheel valve.
- Next, release the water pressure in your radiator by opening the bleed screw. Have a bowl ready to catch any water.
- Place a container under the radiator and valve, slowly undo the lockshield valve connector nut, and drain off the water.
- Undo the connector nut from the other valve so you can easily lift the radiator away from the wall.
- Lift your radiator off the wall brackets, and then tip out the remaining water.
- This old radiator is now ready to be disposed of, and you can move on to installing your new radiator.
How to Install a Radiator Yourself - Step by Step Guide
To ensure you install a radiator properly, here's our step-by-step guide on how to fit a radiator:
Step 1
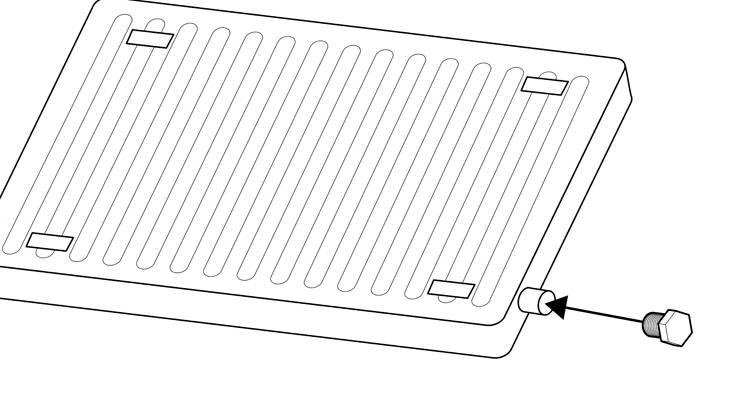
The first step involves removing and cleaning old PTFE from radiator valve tails using a tail key, and applying new PTFE ready for fitting to the new radiator.
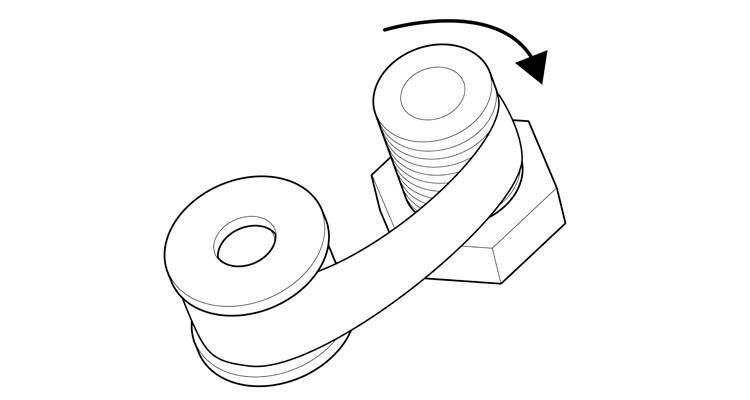
It’s vital that you wrap the tape around the valve in the right direction, so if you’re holding the valve in your left hand, make sure the tape is rotating round clockwise.
Step 2
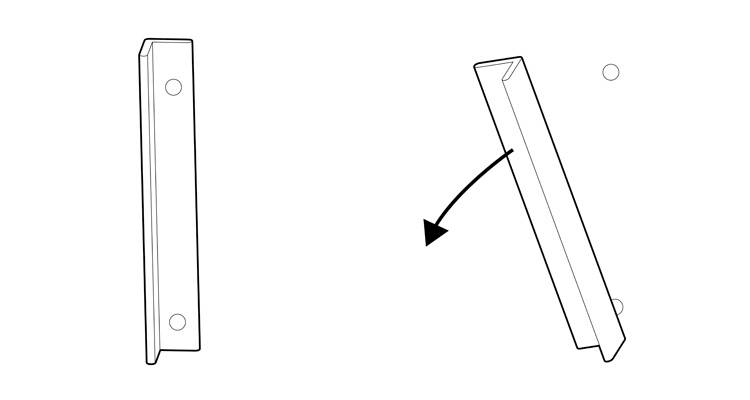
Once the new PTFE has been applied, you can then remove your old wall brackets, ready for replacing them with new ones. These will usually need to be unscrewed from the wall.
Step 3
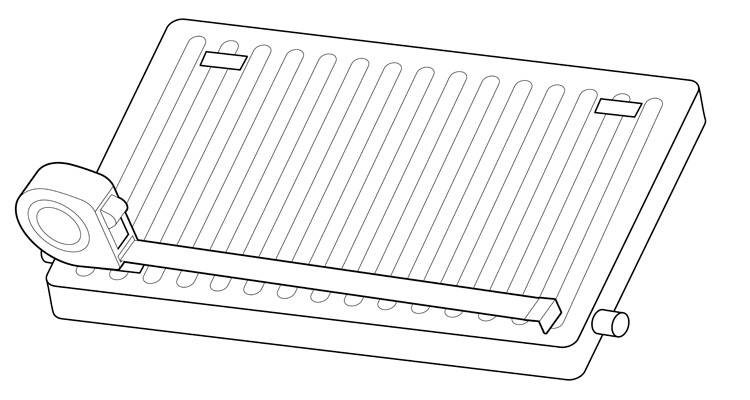
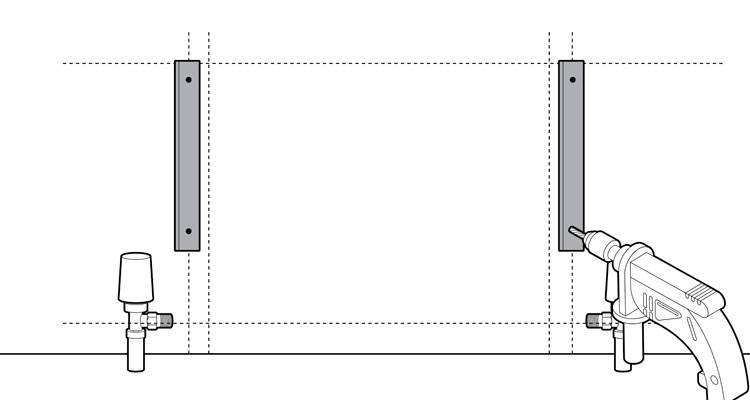
After wall bracket removal, you should then position the new radiator as far from the wall as the valve outlets are above the floor. This will need to be measured out, and you should mark lines on the wall opposite the radiator brackets in order to position the replacement radiator.
Step 4
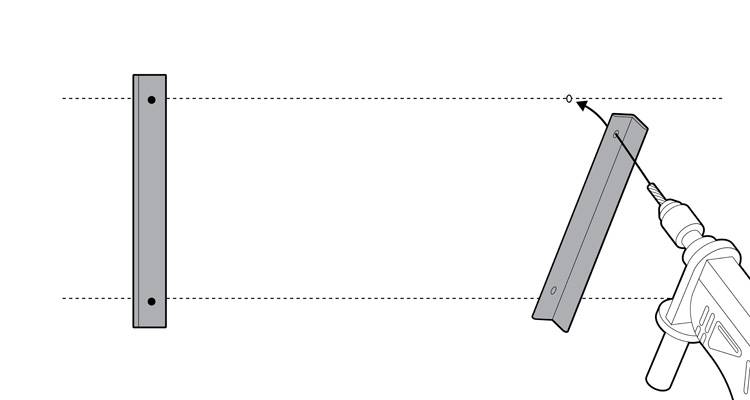
When fitting the brackets, make sure you position the first bracket against the vertical line so the mark you have made at the bottom notch aligns. Screw this first bracket into place. Then, screw the second bracket into place on the wall according to your markings.
Step 5
Then, place the radiator into position on the wall with the help of a friend or family member, as they tend to be heavy. Following this, adjust the match of the valve connections by removing the radiator, loosening the bracket screws, and sliding the brackets if necessary.
Step 6
Mark one of the round fixing holes in each bracket when it is correctly positioned. Drill and plug pilot holes, then place and fully fix both of the brackets.
Step 7
Before hanging the radiator onto the wall, fit the valve tails and bleed valve.
Step 8
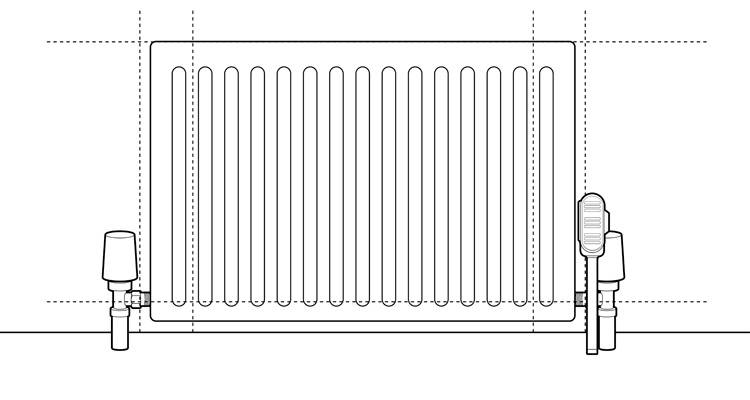
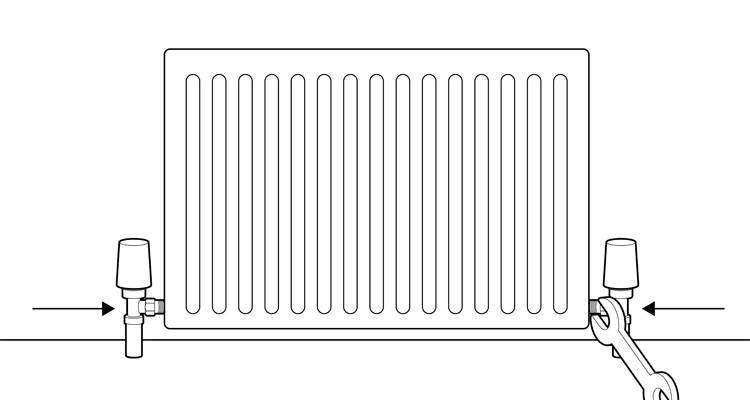
Hang the radiator onto the brackets and tighten the connectors to the valves. Brace each valve with a wrench while you tighten it fully.
Step 9
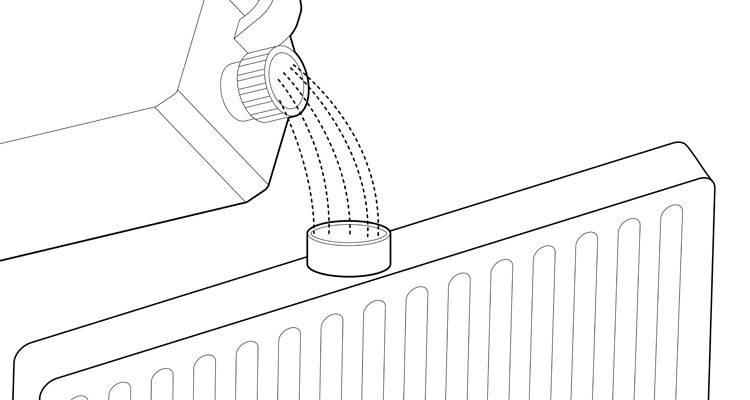
Once the radiator is installed, it’s essential that you check the header tank is topped up with corrosion inhibitor.
Step 10
Open both valves by the number of turns it took to close them off.
Step 11
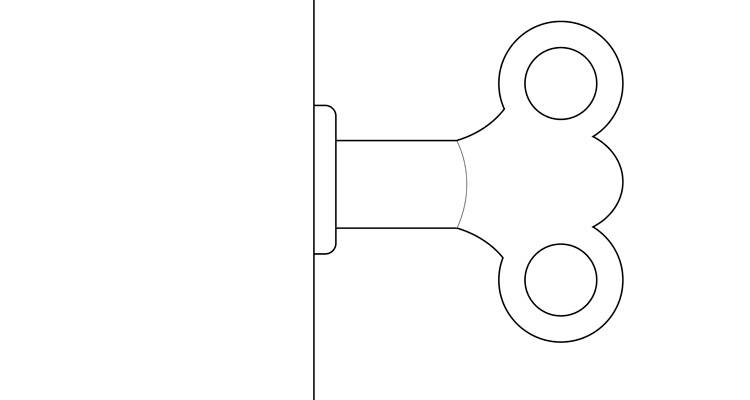
Bleed the radiator using a radiator bleed key.
Step 12
Check the boiler pressure, and top up if required.
Step 13
Once the job is complete, check for leaks and ensure your heating is switched on.