Builders
 Carpenters
 Electricians
 Flooring Specialists
 Gardeners
 Handymen
 Heating Engineers
 Painters & Decorators
 Plasterers & Renderers
 Plumbers
 Roofers
 Tilers
 my
myAsk a Trade
Got a question that only a tradesperson can answer? We have thousands of trades ready to answer any question you may have.
Ask your question
If you want to find out how to fit coving, look no further! This detailed step-by-step guide covers everything you have to know, including the tools you need.
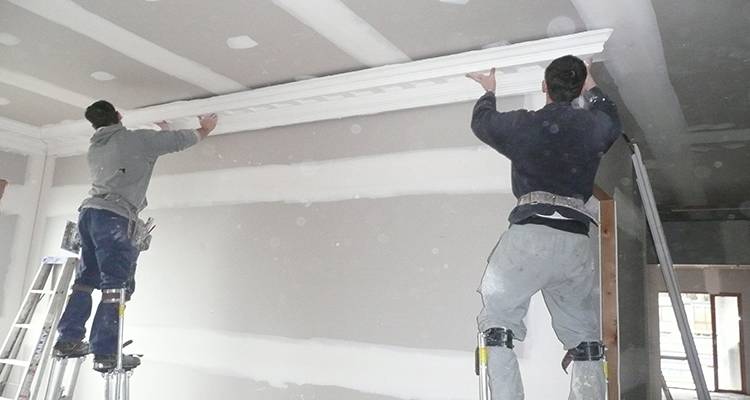
Below is a list of the tools that you will need for a coving installation:
Below is a list of the safety equipment that you will need for fitting coving:
Below is a list of the materials that you will need to install coving:
Before you start marking any lines, you will need to use a pipe and cable detector to check for hidden electrical wires or pipes, unless you have already had an expert confirm it is safe to proceed.
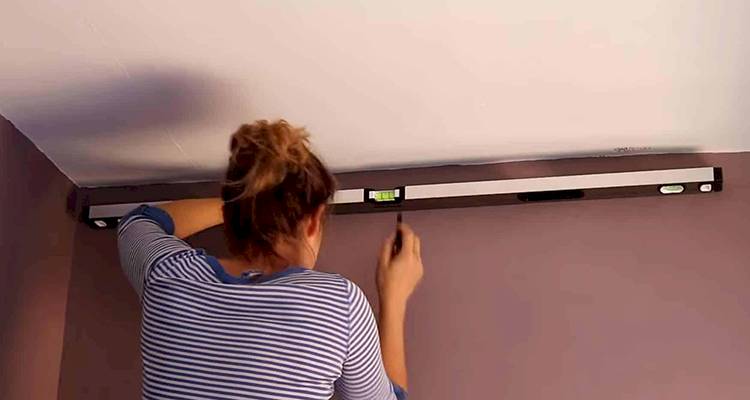
If you are installing standard coving, you want to start by marking a pencil line on the wall and ceiling where the edges of the coving need to be stuck down. Make sure you follow the manufacturer's instructions when doing this.
Make marks around the room with gaps of about a metre apart, then use a straight edge to connect the marks so that you have a continuous line around the walls and on the ceiling. Make sure your guidelines are positioned correctly by using a spirit level or laser level.
Next, check that the area is free from dust and debris. Clean and dust the area if necessary before you start work on fitting the new coving. If the wall or ceiling has only recently been plastered it must be left to dry out first. Very dry or porous plaster needs to be dampened before the adhesive is applied.
It is also a good idea to score the wall where the coving is going to go, although avoid going too deep. This will help the adhesive stick better during the installation.
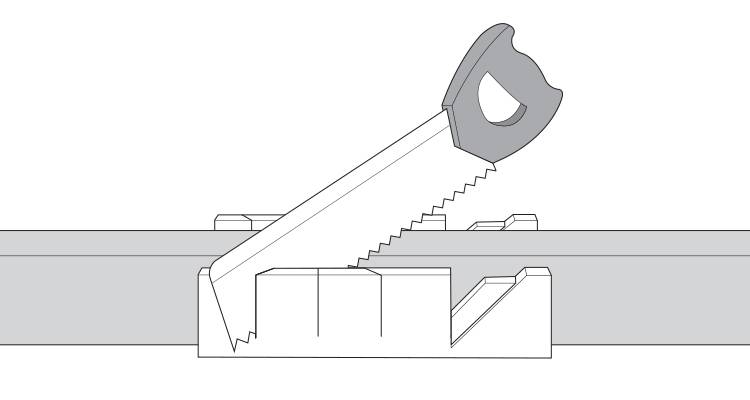
The first thing you will need to do is cut your coving so that the corners can fit together. This will usually require a mitre cut. The best way to complete mitre cuts is by using a mitre box.
Place the coving in the mitre box upside down, with the ceiling edge along the bottom and the wall edge against the back. External corners should use the opposite slot from internal corners.
Make sure you put your coving in the mitre box the right way round and that you cut it in the right direction. Measure your coving before cutting it and put marks where the cuts need to go.
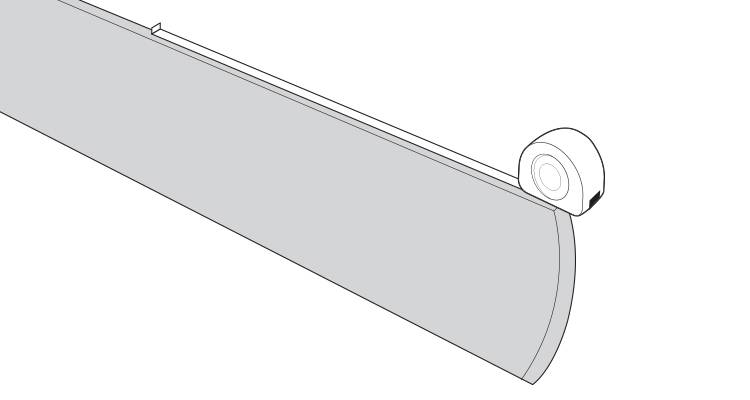
Plan your layout ahead of cutting and allow for an extra 10 to 15% of coving to account for waste or in the event of any mistakes.
Once your coving has been measured and marked up, you can then cut it using a fine-toothed panel saw. Hold the coving securely in the mitre box with your non-cutting hand and then make the cuts using a firm saw movement.
Once you have cut the first piece of coving, hold it up to where it will be fixed and check that it fits correctly. If it needs to be trimmed, put it back in the mitre box and re-cut it. If only a small amount needs to be removed, use a small utility knife with a sharp blade.
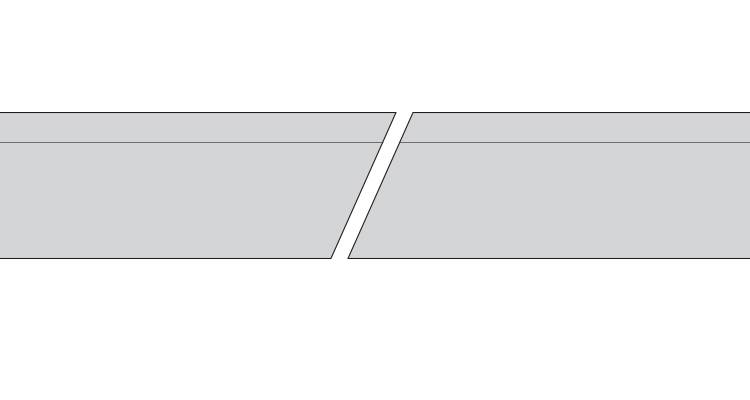
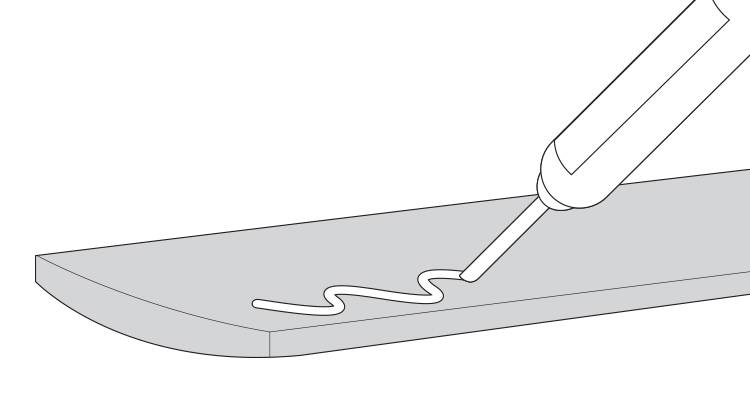
Once you are satisfied, apply adhesive to both edges of the coving. Whether you're using a sealant gun or applying by hand, make sure you apply the right amount of coving adhesive so that it will squeeze out of the coving when it is pushed into position.
If you're fitting heavier plaster coving, lightly tap in panel pins beneath the coving at intervals to hold it in place until the adhesive sets.
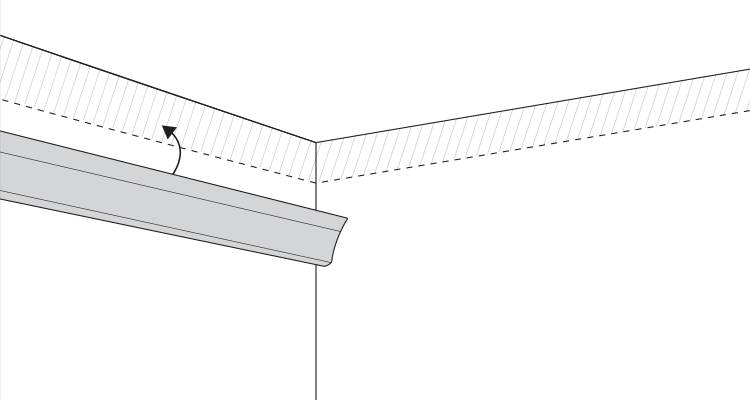
Now use the pencil lines you made earlier to line up the coving and get it in the right position. Work your way along the coving and push it into place.
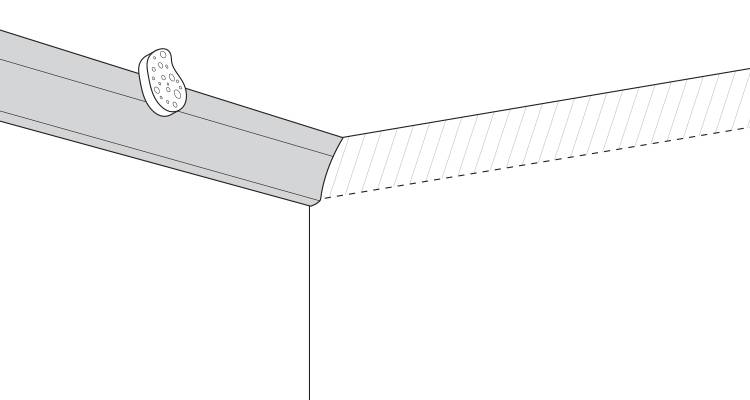
If there are any small gaps, fill them with coving adhesive or decorator's caulk and smooth with a damp sponge or filling knife. Once dry, lightly sand for a smooth and seamless finish.
Now, measure and cut the second piece in the same way. Apply adhesive to both sides of the coving and on each of the edges of the mitre joint. Then, position and push it into place in the same way as before.
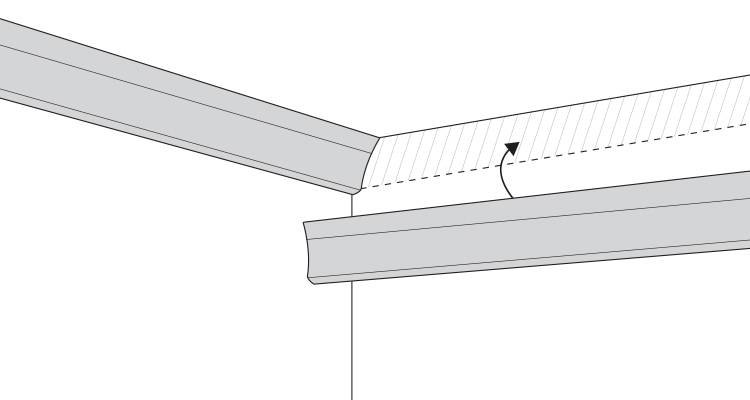
Continue this process throughout the entire room. Then, wait at least 24 hours to ensure it has dried completely before checking the joins. If you are painting your coving, lightly sand it where necessary and apply a coat of primer first.
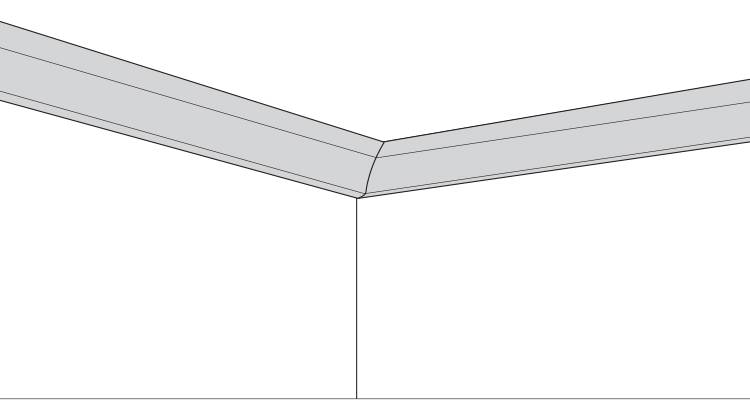

It is recommended that you wait at least 24 hours after installation before you paint your new coving.
Common coving materials in the UK include plaster, polystyrene, polyurethane, and MDF.
Use a dedicated coving adhesive or grab adhesive suitable for your coving material (plaster, polystyrene, or polyurethane). Avoid general-purpose glue, as it may not provide enough strength or flexibility once the coving is in place.
If you notice any small gaps, this may be the result of uneven walls or a misjudgement when cutting or applying too much adhesive. They can be fixed by using a lightweight filler or caulk. Once painted, the join will appear clean and less noticeable.


Copyright 2026 MyJobQuote.co.uk. All rights reserved
Privacy Policy | Terms and Conditions | Sitemap
MyJobQuote.co.uk is rated 4.68 stars by reviews.co.uk based on 4127 reviews