my
myHow to Fit a Door Handle
Would you like to learn how to install an interior door handle? Read our handy how-to guide which will show you exactly what you need to do and what tools you'll need. So, it's well worth checking it out below!

Table of Contents
- What Tools Do I Need to Install an Interior Door Handle?
- What Safety Equipment Do I Need to Fit an Interior Door Handle?
- What Materials Do I Need to Install an Interior Door Handle?
- How to Prepare for an Interior Door Handle Installation
- How to Fit an Interior Door Handle Yourself
- How do you remove an interior door handle?
- FAQs
What Tools Do I Need to Install an Interior Door Handle?
Below is a list of the tools that you will need to install an interior door handle:
- Flathead or Phillips Screwdriver (depending on the screws)
- Drill and drill bits (if new holes are required)
What Safety Equipment Do I Need to Fit an Interior Door Handle?
When installing a new door handle or knob, you don't need any specific safety equipment to complete the job effectively. However, if you need to drill any new holes, you may wish to wear safety glasses or gloves for added protection.
What Materials Do I Need to Install an Interior Door Handle?
Below is a list of the materials that you will need for a door handle installation job:
- Backset (check sizes)
- Screws
- Doorknob or handle
- Lock set
- Door latch
- Strike plate
How to Prepare for an Interior Door Handle Installation
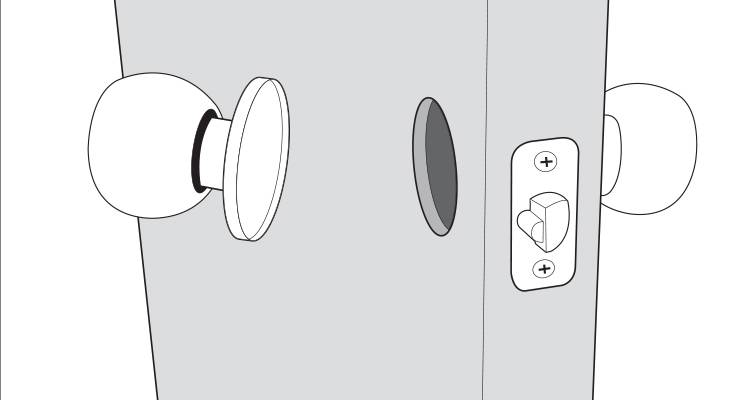
In order to prepare for when you fit an interior door handle, you should begin by removing the old one along with any fixings. In the event you wish to get your locks changed, you should hire a professional locksmith, although for internal doors this is something that can be carried out by yourself.
Once you have removed the old doorknob, you can then go on to install a new one.
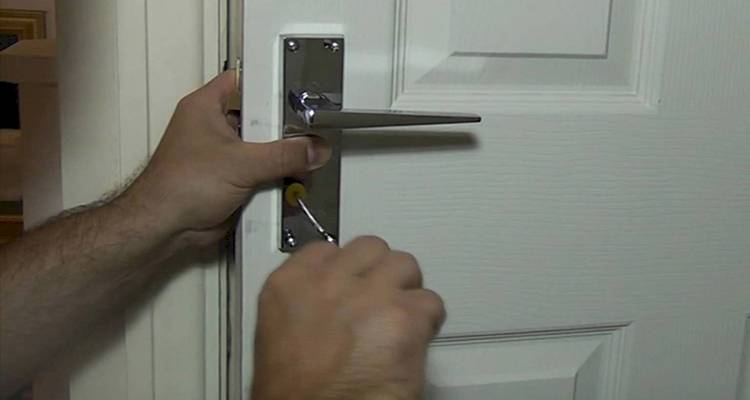
How to Fit an Interior Door Handle Yourself
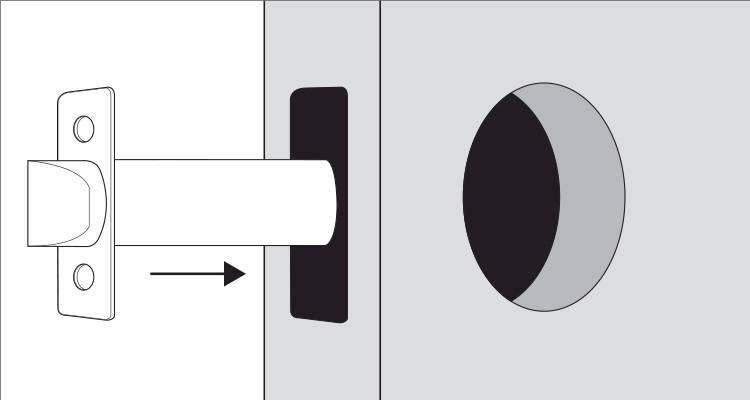
Step 1
Insert the backset into the door and ensure that the tapered edge of the backset faces the direction the door closes. Once it’s in place, secure it with two screws.
Step 2
Once the backset is installed, slide the latch (front part of the lock) through the hole. Check it is aligned and once in the right position, you can now install the back part of the doorknob or handle. If your knob has a lock feature, you want the lock to be facing the right way. Be sure to test the doorknob/handle any locking mechanism before securing everything into place.
Step 3
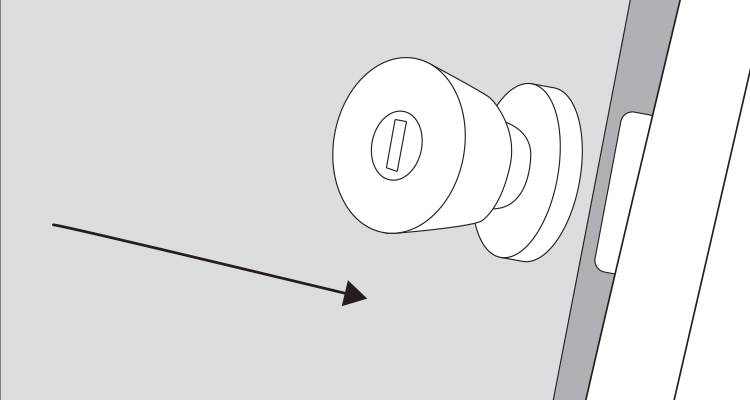
Screw the knob into position once you’re happy that it is in the right place and that the lock works effectively.
Step 4
Next, you want to test the doorknob on both sides of the door to ensure that it is functioning properly.
Step 5
You will then need to test the lock by locking it and making sure you can’t turn the knob on the other side while it is locked.

Step 6
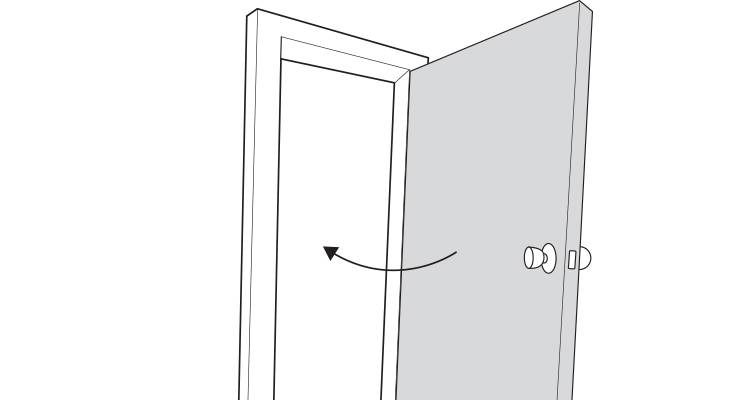
Once you’re certain it works effectively, you should then push the door shut and check that the backset lines up with the strike plate.
Step 7
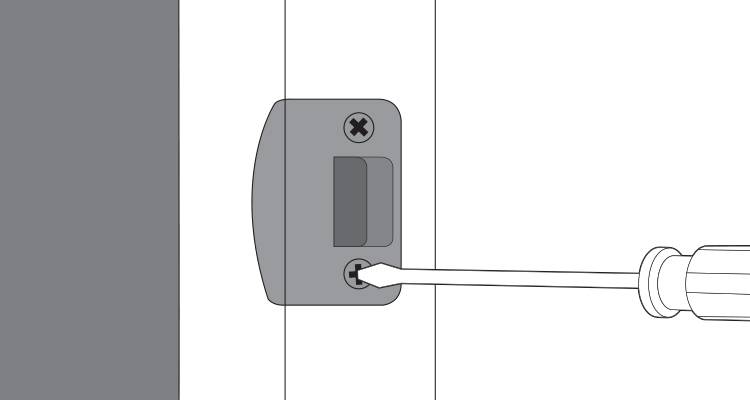
You then want to remove the old strike plate by unscrewing it and replace it with the new strike plate.
Step 8
Finally, open and close the door a few times to ensure everything is working. Testing the lock, handle, and strike plate one more time so that it is fully functional. If there any potential issues, the most likely answer is a misalignment preventing the door from locking properly that will need adjusting.
How do you remove an interior door handle?
Below is a simple step-by-step guide on how to remove an interior door handle:
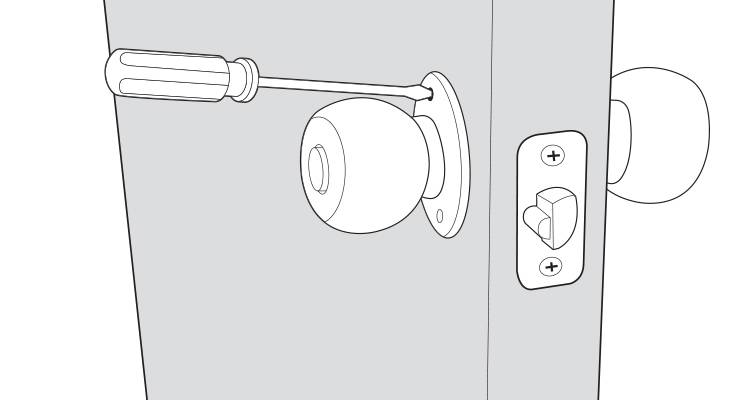
- Locate the screws
- Unscrew the fitted screws
- Remove the latch plate
- Remove the striker plate
- Locate the recessed fasteners
- Unscrew the recessed fasteners
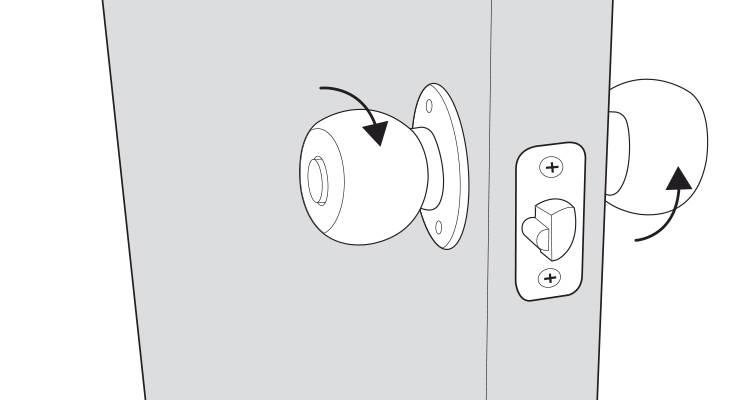
- Remove the lock system
- Unfasten the screws behind the cover plate
- The entire handle should now be removed