Builders
 Carpenters
 Electricians
 Flooring Specialists
 Gardeners
 Handymen
 Heating Engineers
 Painters & Decorators
 Plasterers & Renderers
 Plumbers
 Roofers
 Tilers
 my
myAsk a Trade
Got a question that only a tradesperson can answer? We have thousands of trades ready to answer any question you may have.
Ask your question
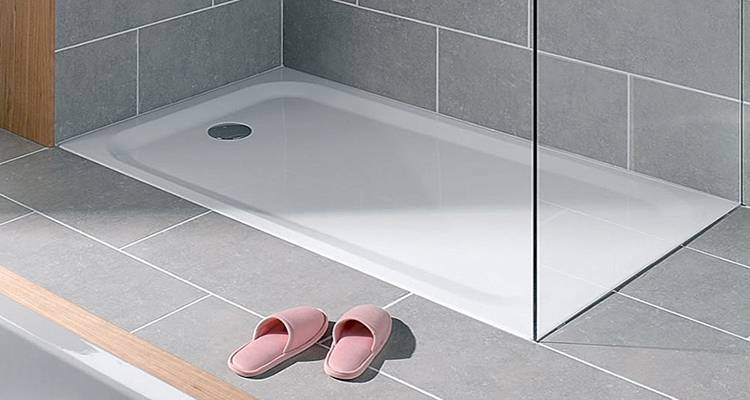
Fitting a shower tray can help transform your bathroom and add in a much-needed shower. This guide will help you understand everything you need before you start and the steps you need to follow to fit your own shower tray.
The following tools are required to successfully fit a shower tray, although if you are installing a completely new section to your bathroom, such as installing a power shower, you may need more specialist equipment:
You will need the following safety equipment to complete the job safely:
Below is a list of the materials that you will need to fit your new shower tray:
Start preparing to fit your shower tray by drawing markings on the floor where you're planning to install it. You should also mark out where the joists are so that you can leave enough space for the waste pipe.
Remember to check the area beneath the floor too, to ensure there aren't any pipes, cables, or obstructions in the way before you begin cutting or drilling.
Have all your tools and equipment organised and always read the labels, especially on packets of mortar mix and sealant as how they are applied and their suitability for the job may vary.
Below are the steps that you need to take to successfully install a shower tray yourself, although if in doubt ask someone who specialises in shower installations for advice:
Put your shower tray into its correct position on the floor and then draw around it with a pencil. You also need to mark out the drain area. Then, check that the floor underneath the shower tray is level in both directions using your spirit level.
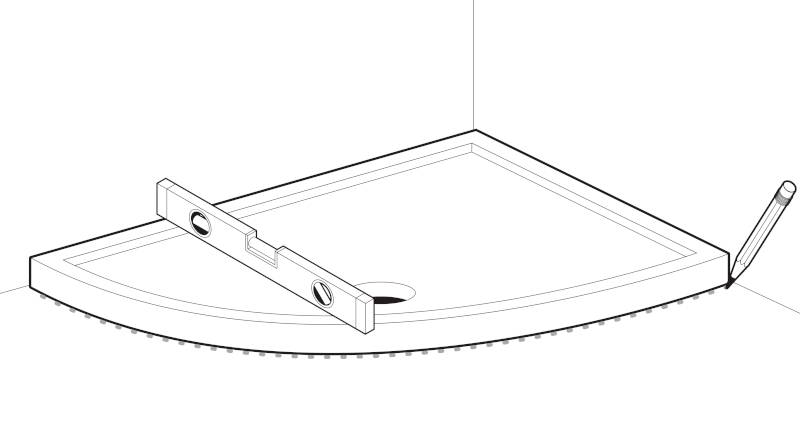
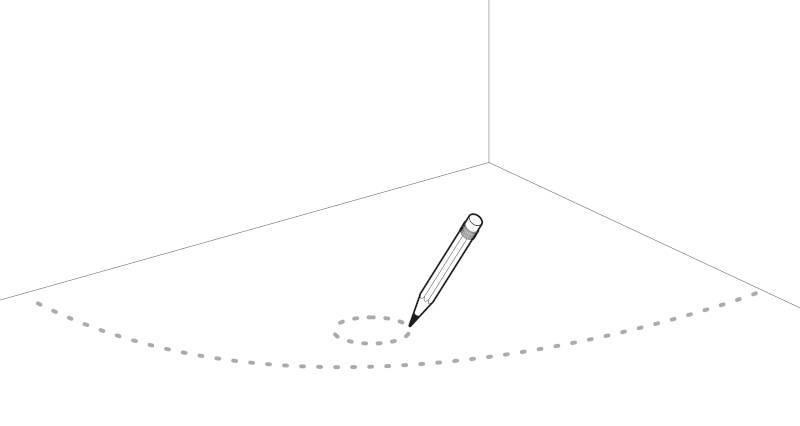
You now need to get your waste trap and put it in position on the floor so that you can mark out the direction of the waste pipe. This needs to be in line with the direction of the waste pipe below the floor.
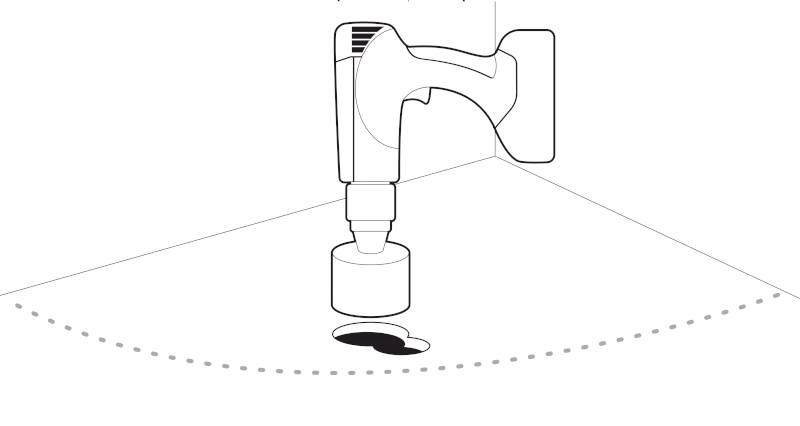
Use an electric drill with two separate hole saw attachments, one sized large enough for the waste trap's main hole and one for the pipework, and drill through the surface. Double-check there aren't any pipes or cables running underneath the area before you start drilling.
Test the size of the waste trap in the hole that you have cut to ensure it fits correctly. You can then install the waste trap onto the shower tray.
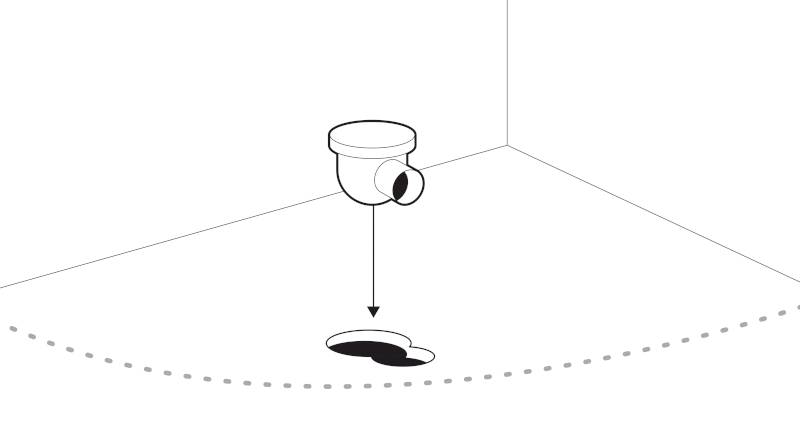
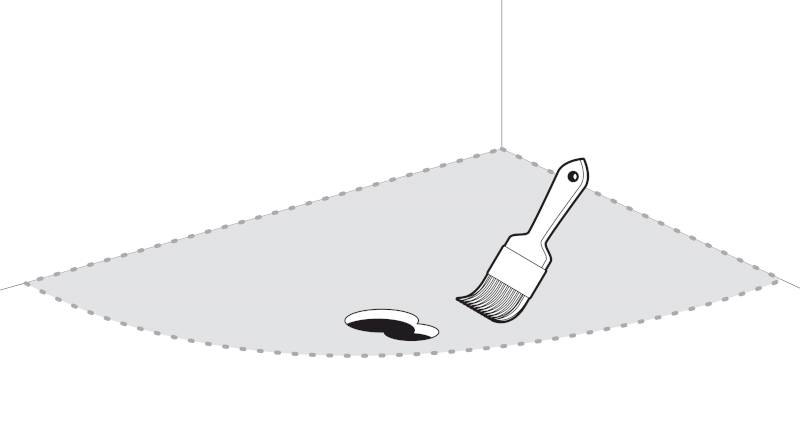
Once you have completed the steps above, you should then seal the area where the shower is being installed using some waterproof sealer.
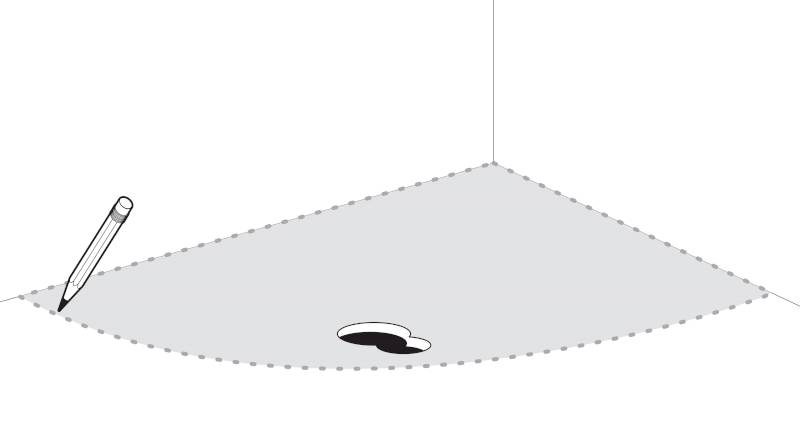
You should now mark a line again where the tray will fit. You should also then put a mark on the wall on either side of the shower tray area to mark out the minimum thickness required for your mortar ready for the next step. This is usually between 5 and 15mm, although always check the manufacturer's guidelines first.
Create a thick mortar mix and spread it evenly over the area for the shower tray with a flat trowel. Once the mortar is laid, it will be hard to lift and manoeuvre the tray. If need be, you can attach glass suction lifters to the top of the tray. If the tray has any protective masking, you may wish to peel it away at the edges before laying into position. This will make it easier to remove completely once you've finished the job.
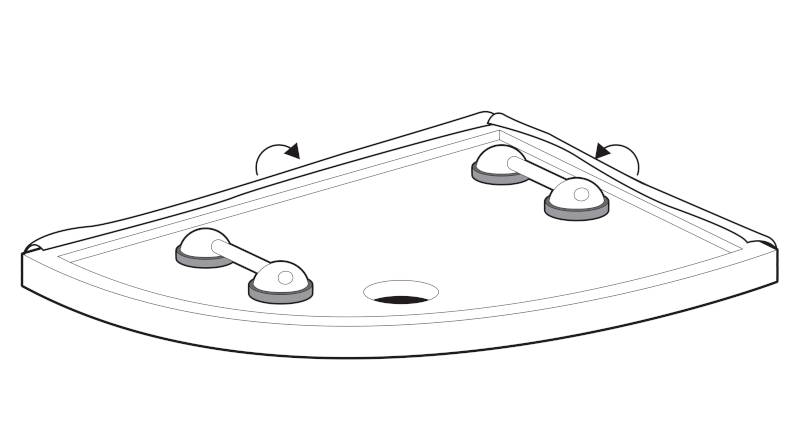
Using the suction lifters, pick up the shower tray and put it into position on the mortar base, using the wall as your guide. Push down firmly so it sits in place on top of the mortar bed, before removing the glass suction lifters. Check with a spirit level that the top edges of the tray are level and that the floor slopes towards the waste.
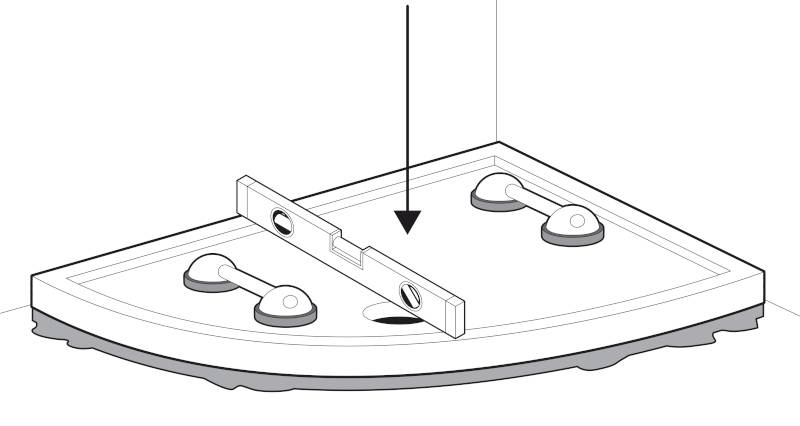
Once your shower base is in place and level, you can then remove any excess mortar from around the shower tray using a trowel.
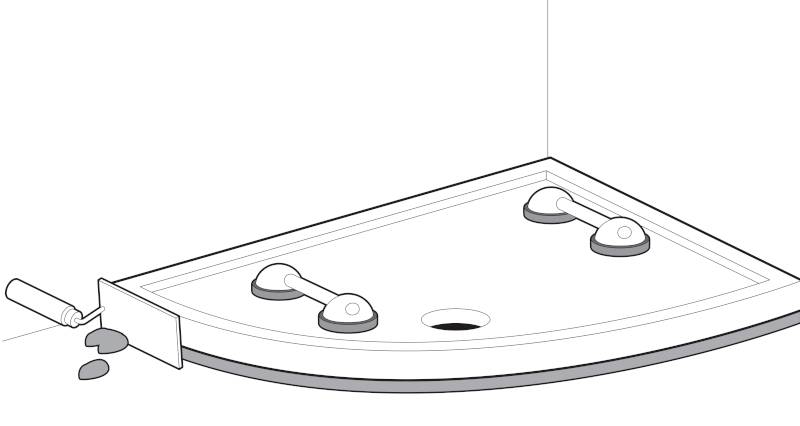
You will then need to leave your shower tray and allow enough time for the mortar to fully set. Check manufacturer guidelines first, but this is often at least 48 hours, although some fast-drying mortars are available. Connect the waste pipe and check for leaks by running water into the tray, ensuring every connection isn't leaking, and make sure the water drains away properly.
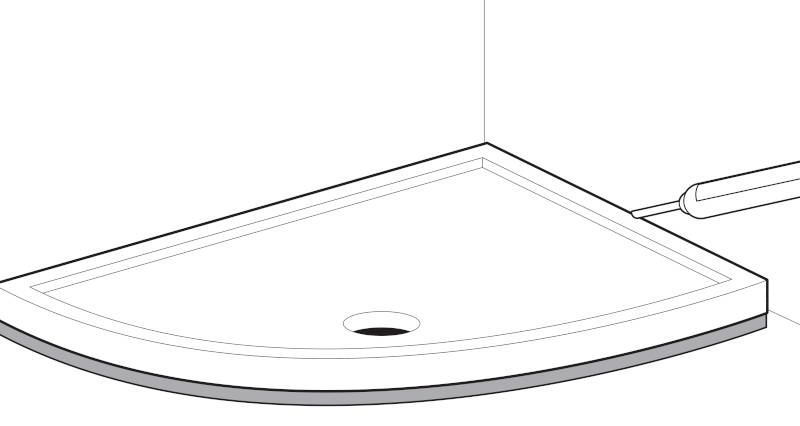
You can then tile the area, and also apply a layer of silicone sealant in the gap between the shower tray and the tiles. This will help prevent water from leaking into the opening along the wall.

Yes, you can. Fitting a raised shower tray will avoid you having to cut into the concrete when creating space for the waste trap. You can also cut a trench in the concrete for the waste and pipe, then fill the trench with cement once everything is connected. The method to choose depends on whether the floor can be cut and how high you want the tray to sit.
Remove any obstacles such as shower curtains or doors that may get in your way along with any other fixtures. Carefully use a screwdriver to loosen the sealant between the tray and the wall or floor. You should then be able to pull it away until it becomes fully detached. There is no need to shut off the water, unless it's part of a bigger job linked to the plumbing or water supply.
In this case, you should use a quick-set mortar to even out the surface, so that you can continue with the installation of the shower tray. It is essential that the floor underneath the tray is completely level.
Some shower trays can be bedded on tile adhesive or raised on a leg or riser kit provided by the manufacturer, but it depends on the tray. If in doubt, you should always follow the manufacturer's instructions.
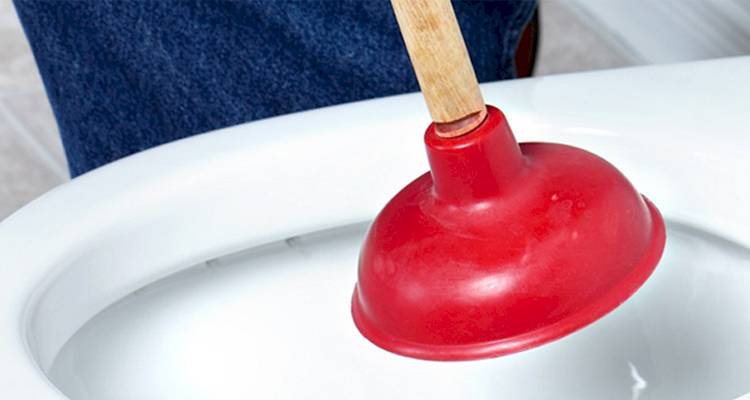
Remove the shower drain attachment and remove as much hair and other debris as you can by hand. If you can't remove it all, try with a hook or drain snake to reach further down. Once you've removed as much as possible, flush the drain with hot water and if the issue continues, use a dedicated drain-cleaner or blocked drain solution and follow the directions on the label.





Copyright 2026 MyJobQuote.co.uk. All rights reserved
Privacy Policy | Terms and Conditions | Sitemap
MyJobQuote.co.uk is rated 4.68 stars by reviews.co.uk based on 4131 reviews