my
myHow to Draught Proof Your Home
Draught proofing your house can help you to keep warm, save on your energy bills by becoming more energy-efficient and reduce your carbon footprint and impact on the environment. This article will explain how to draught proof your home as a simple DIY project.
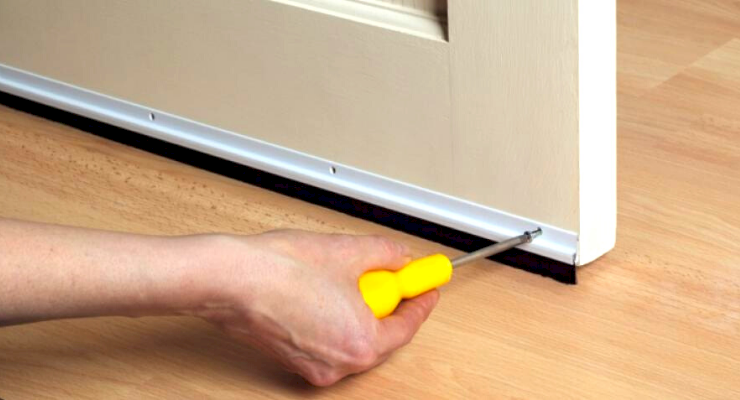
Table of Contents
What Tools Do I Need for Draught Proofing?
To ensure you complete draught proofing correctly, you need the right tools. Below is a list of the tools that you will be required when draught-proofing your home:
- Scissors
- Sponge or cloth
- Tape measure
What Safety Equipment Do I Need for Draught Proofing?
Draughtproofing your home is a simple DIY job that doesn’t require any specific safety equipment. However, if you are draught proofing your chimney or roof, you may need special equipment when working on the roof. This could include:
- Roofing ladder
- Roofing shoes or non-slip footwear
- Hard hat
- Roof ladder hook
- Harness, anchors and ropes
- Safety gloves
What Materials Do I Need for Draught Proofing?
Before purchasing any materials, you need to consider the type of draught proofing strips you are going to use, such as those listed below. Alternatively, hire a tradesman who specialises in draught proofing to have the job done professionally.
Self-Adhesive Foam Strips
These strips can be used to draught proof windows. These are very cheap to buy and also extremely easy to install.
Metal or Plastic Strips
These are slightly more expensive than self-adhesive foam strips; however, they will last a lot longer, which means you won’t have to draught proof your home for a few years.
You also need to consider the size of the strips to ensure they fit in the gaps; this includes thickness, as draught proofing strips which are too thin will still allow cold air into your home. If they are too big, then they will be crushed under the door or window and will prevent them from closing.
How to Prepare for Draught Proofing
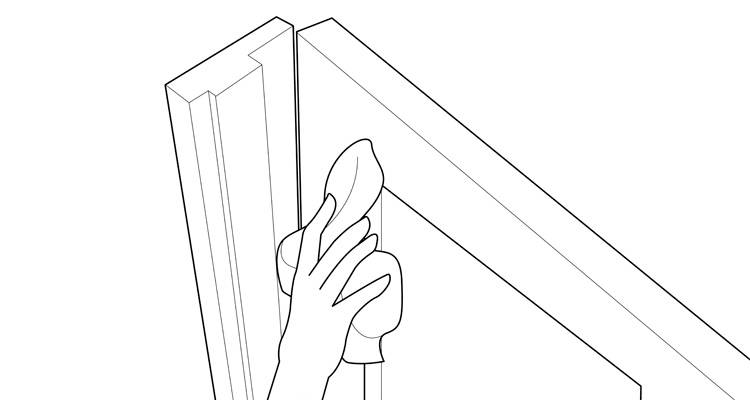
Before draught proofing, you should check your doors and windows for draughts. If you find that there are certain doors or windows that need to be draught proofed, give the door or window frames a wash first and allow them to fully dry before you begin with the draught proofing.
Measure up the gaps in your windows, door and flooring to ensure you get foam strips that are the right size for the hole that you need to fill.
How to Draught Proof a Home Yourself — Step-by-Step Guide
Below is a step-by-step guide on how to draught proof your home. This draft-proofing technique works on most windows and doors, including French doors, front doors, and most windows.
Step 1
Begin by locating the drafts in your home and make a note of the areas that need to be draught proofed.
Step 2
Before applying draught proofing, give your windows and doors a good cleaning and be sure to allow them to fully dry before applying the draught proofing.
Step 3
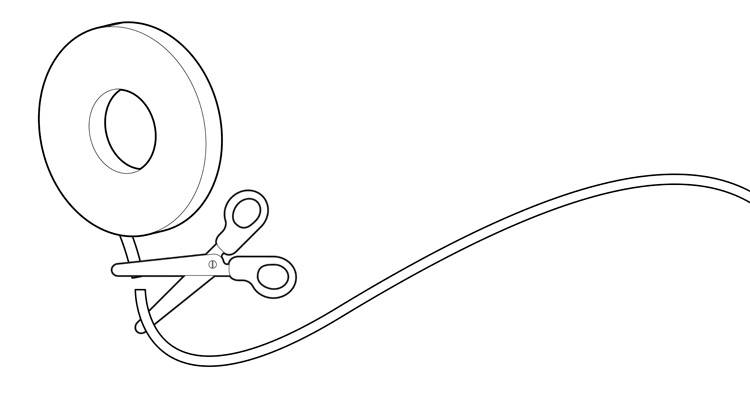
After cleaning, cut your foam draught proof strips to the length that you need. This will depend on the size of your window or door.
Step 4
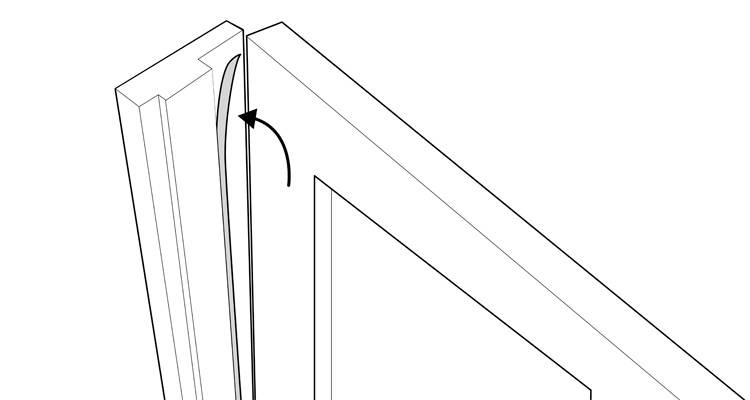
Once you’ve cut it to size, peel back the sticky adhesive.
Step 5
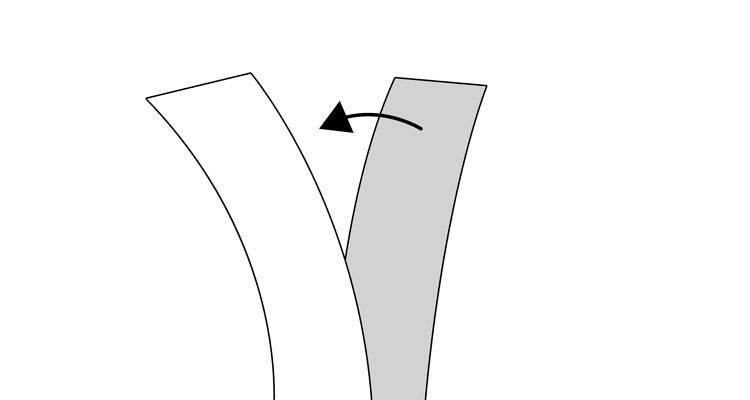
Apply the adhesive side of the strip on to the surface where the door or window closes onto. It’s vital that you install it to this area on the surface and not the side.
Step 6
If you have a larger gap, you can use thicker or wider draught proofing strips. However, too thick and you may prevent any doors or windows from closing or latching properly.
Always measure the gaps causing the draft accurately before purchasing materials, to ensure you select the correct size for an effective and safe fit.
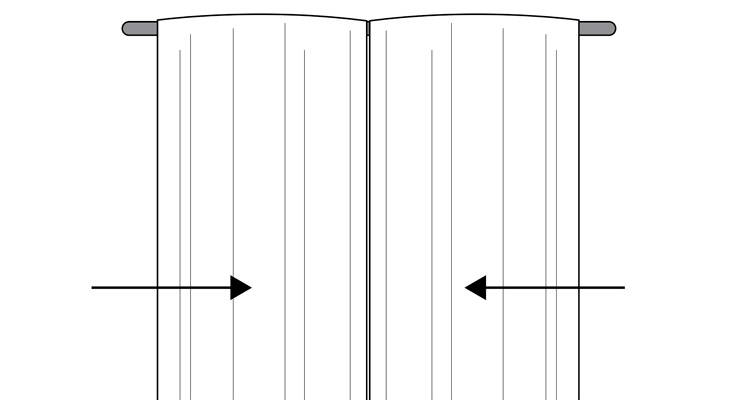
Step 7
Close your curtains and blinds where possible as this can prevent heat loss and can reduce draughts.
Other Draught Proofing Methods
You may also want to consider other draught proofing methods for other fixtures in your home, such as:
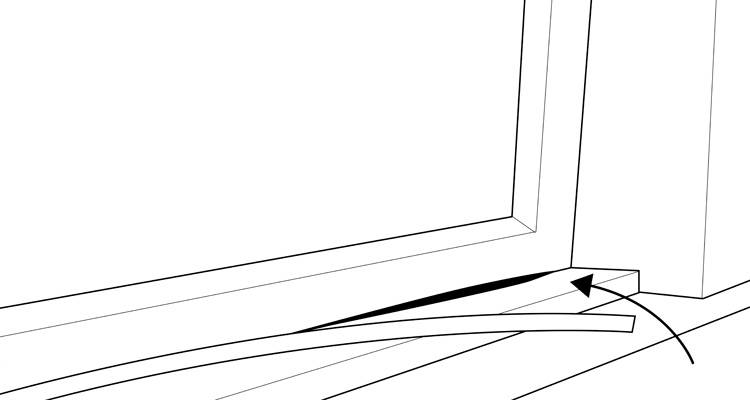
Flooring
You may notice cold air can enter through your flooring, especially if there are any cracks or your floor has moved. To prevent draughts, you can fill the gaps with silicone-based or flexible filler, decorator’s caulk, or mastic.
Some crack fillers can be easily removed, however, many are permanent and dry quickly once applied. As such, it’s important to apply carefully, and make sure you wipe any excess filler off with a damp cloth before it hardens into place. You can also apply filler to any gaps in your skirting boards.
Chimney
If your chimney isn't in use, consider implementing draught proofing fixtures to prevent cold air getting into your home. This could include having a professional fit a cap over your chimney pot or even consider having your chimney breast removed.
You can also purchase a draught excluder to have fitted inside the chimney or around the fireplace, but remember if you want to start using your chimney again, make sure you remove these draught proofing methods. Failure to do this could result in a fire or damage to your chimney.
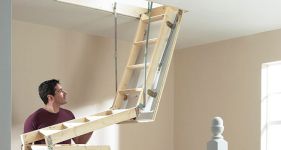
Loft hatches
Loft hatches are one of the leading causes of heat loss, and they also tend to let cold air through even when they are closed. To prevent draughts and improve your heating efficiency, you should apply strip insulation in the same way you would with a door or window.